<?xml version="1.0" encoding="UTF-8"?>
<feed xmlns="http://www.w3.org/2005/Atom">
  <title type="text">joku blenderin käyttäjä</title>
  <updated>2023-03-01T10:40:02+02:00</updated>
  <generator uri="http://rohea.com" version="0.1">Blog Integration Feed Generator</generator>
  <link rel="alternate" type="text/html" href="https://blenderuser.vuodatus.net/"/>
  <link rel="self" type="application/atom+xml" href="https://blenderuser.vuodatus.net/feeds/atom"/>
  <id>https://blenderuser.vuodatus.net/</id>
  <author>
    <name>Mielikki</name>
    <uri>https://blenderuser.vuodatus.net/</uri>
  </author>
  <entry>
    <title type="html"><![CDATA[some indoor tests]]></title>
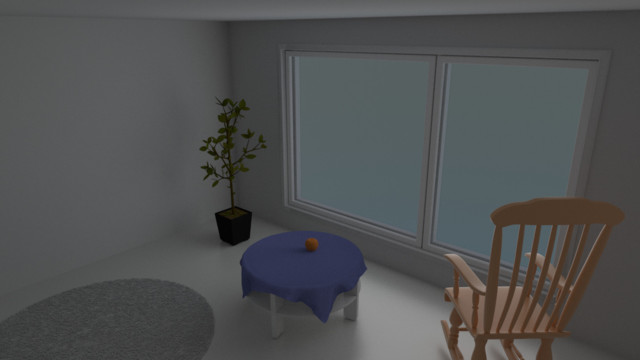
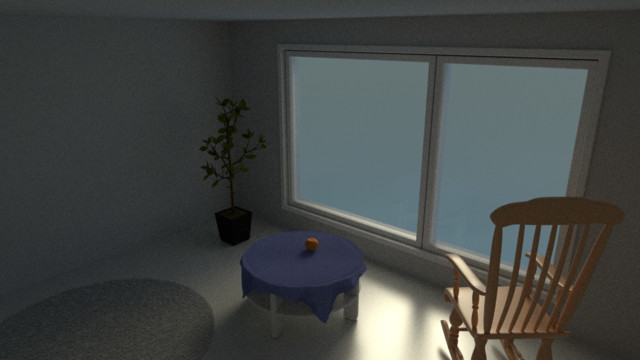
    <summary type="html"><![CDATA[<p>* in the closed room (box) with window</p>

<p>with <a href="https://www.blendswap.com/files/images/2014/06/image74501/big_200aaac11336db87cea85fd1f435d9d4.jpg" rel="nofollow">sky portal trick</a></p>

<p><img src="https://vuodatus.net/media/cache/normal/blog_content_image/normal/590ffd72b596dcc5098b4567/indoor2.jpg" alt="indoor2.jpg" /></p>

<p>ok, but not natural light source, it doesn't look like sunlight.</p>

<p> </p>

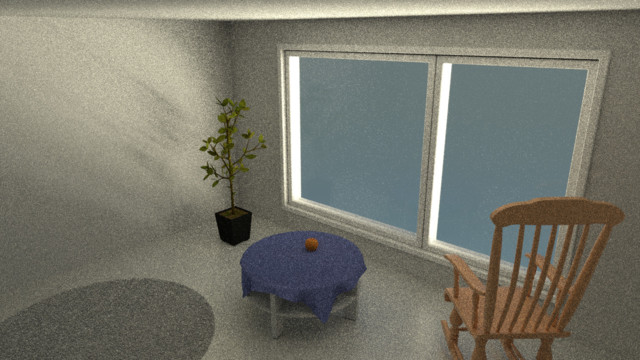
<p>with sun (+exposure)</p>

<p><img src="https://vuodatus.net/media/cache/normal/blog_content_image/normal/590ffef6b596dcdc268b4567/indoor_indlight.jpg" alt="indoor_indlight.jpg" /></p>

<p>so beautiful light, but can't remove the FIREFLIES. SO MUCH FIREFLIES.</p>

<p>tricks do not work, it happens only with sunlight.</p>

<p>with spotlight</p>

<p><img src="https://vuodatus.net/media/cache/normal/blog_content_image/normal/591001ccb596dc5c738b4567/indoor_spot.jpg" alt="indoor_spot.jpg" /></p>

<p>looks good, even not so beautiful like sun. fireflies can be reduced with more samples.</p>

<p> </p>]]></summary>
    <published>2017-05-08T08:01:00+03:00</published>
    <updated>2019-08-10T18:57:28+03:00</updated>
    <link rel="alternate" type="text/html" href="https://blenderuser.vuodatus.net/lue/2017/05/some-indoor-tests"/>
    <id>https://blenderuser.vuodatus.net/lue/2017/05/some-indoor-tests</id>
    <author>
      <name>Mielikki</name>
      <uri>https://blenderuser.vuodatus.net/</uri>
    </author>
  </entry>
  <entry>
    <title type="html"><![CDATA[blender for n00b - when cycles render is too dark]]></title>
    <summary type="html"><![CDATA[<h2>1. Move light, that light isn't on the object's backside</h2>

<p>Check front(numpad 1), right(numpad 3) and top(numpad 7) and check if it is on a good place.</p>

<p><img alt="1.jpg" src="http://vuodatus.net/media/cache/normal/blog_content_image/normal/580a113bb596dce35e8b4569/1.jpg" /></p>

<p>Pink range is bad place to place light, but sometimes seems dark even if it is upside.<br />
But it's ok, when you intended to let frontside dark(This tip is not for them!)<br />
If you want to let light backside but want to see also bright frontside, you can use two or more lights.(see 3)<br />
IT DOES NOT APPLY TO TRANSPARENT OBJECTS(also glass bsdf)</p>

<p>It looks bright when it is between camera and object, but object can reflect the light.</p>

<p>Bonus Hint. Translucent BSDF is opposite!</p>

<h2><u>2. <strong>Change Light Strength ***</strong></u></h2>

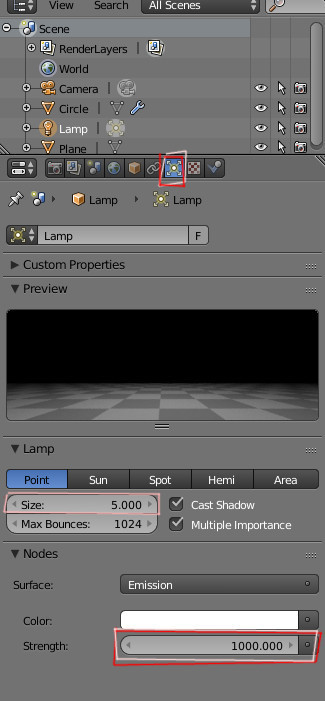
<p><span style="line-height:1.6em;">Select your light, and set light strength. You can change it to 1000, 2000, or 10000, just try until you are satisfied.</span></p>

<p><img alt="2.jpg" src="http://vuodatus.net/media/cache/normal/blog_content_image/normal/580a113cb596dcff5e8b4568/2.jpg" /></p>

<p>Tip. when light size is big, it reduces white points(we call it 'firefly'), but also brightness reduces.</p>

<h2>3. You removed light!</h2>

<p>Be careful. When you select object(like b key), it is usual to lights also are selected (and when select all, also camera). Don't worry, go to Add &gt; Lamp and select one. (do not need to hesitate, anyway you can change light type at any time!)</p>

<h2>4. Because background color is grey</h2>

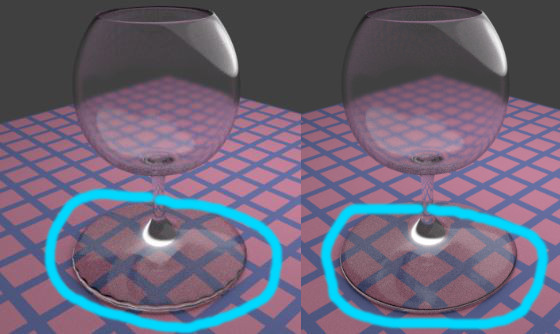
<p>It reflects(glossy, but also diffuse) or refracts(glass). Try to change background and see how it works. It will be many ways to solve the problem, like changing materials(roughness, using nodes and etc) or change light paths settings on the rendering option.</p>

<p><img alt="Capture.jpg" src="http://vuodatus.net/media/cache/normal/blog_content_image/normal/5818d767b596dcdb3b8b4567/Capture.jpg" /></p>

<p>If object reflects too much background, use world's node, set strength to low value, and try 2(change light strength).</p>]]></summary>
    <published>2016-10-21T15:17:00+03:00</published>
    <updated>2019-08-10T18:57:30+03:00</updated>
    <link rel="alternate" type="text/html" href="https://blenderuser.vuodatus.net/lue/2016/10/blender-for-n00b-when-cycles-render-is-too-dark"/>
    <id>https://blenderuser.vuodatus.net/lue/2016/10/blender-for-n00b-when-cycles-render-is-too-dark</id>
    <author>
      <name>Mielikki</name>
      <uri>https://blenderuser.vuodatus.net/</uri>
    </author>
  </entry>
  <entry>
    <title type="html"><![CDATA[How to resolve subsurface division problem]]></title>
    <summary type="html"><![CDATA[<ol><li value="1">
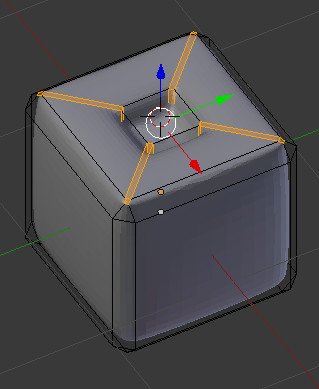
	<h2>Simple, you just need bevels, huh?</h2>
	</li>
</ol><p><img alt="n00b1.jpg" src="http://vuodatus.net/media/cache/normal/blog_content_image/normal/58037798b596dc4d3c8b4568/n00b1.jpg" /><img alt="n00b2.jpg" src="http://vuodatus.net/media/cache/normal/blog_content_image/normal/5803779cb596dc923c8b4567/n00b2.jpg" /></p>

<p>I believe that it will be useful for newbies. Don't forget it.</p>

<ol><li value="2">
	<h2>Check if it has extra surface</h2>
	</li>
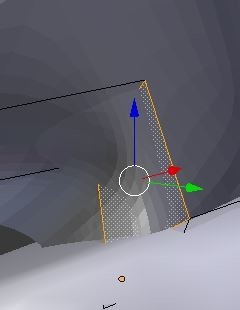
</ol><p>If it has extra surface, you need to remove it.</p>

<p><img alt="1-1.jpg" src="http://vuodatus.net/media/cache/normal/blog_content_image/normal/5803777ab596dc223b8b4568/1-1.jpg" /><img alt="1-2.jpg" src="http://vuodatus.net/media/cache/normal/blog_content_image/normal/5803777bb596dce83a8b4569/1-2.jpg" /></p>

<p>You can check by using ‘h’(hide) and ‘alt + h’ (stop hiding) in edit mode.</p>

<p><img alt="1-4.jpg" src="http://vuodatus.net/media/cache/normal/blog_content_image/normal/5803777eb596dc223b8b4577/1-4.jpg" /></p>

<p>(faces + h key)</p>

<p><img alt="1-5.jpg" src="http://vuodatus.net/media/cache/normal/blog_content_image/normal/58037784b596dc553b8b4568/1-5.jpg" /></p>

<p>(select and remove face)</p>

<p><span style="line-height:1.6em;">(ctrl + h to close, it, I forget to take picture after remove)</span></p>

<ol><li value="3">
	<h2>Use ‘edge split’ modifier</h2>
	</li>
</ol><p>It will be work when it has simple surfaces. If it is complicated mesh, you need to try another one.</p>

<p><img alt="2-1.jpg" src="http://vuodatus.net/media/cache/normal/blog_content_image/normal/58037784b596dcb33b8b4567/2-1.jpg" style="line-height:20.8px;" /></p>

<p><img alt="2-2.jpg" src="http://vuodatus.net/media/cache/normal/blog_content_image/normal/58037784b596dc9e3b8b4568/2-2.jpg" /></p>

<ol><li value="4">
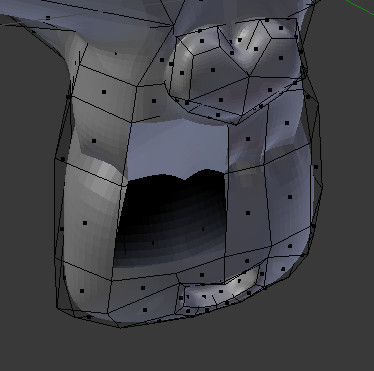
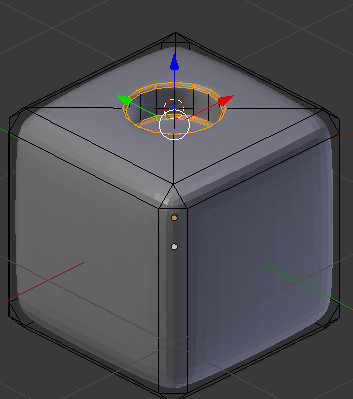
	<h2>If you have problem with hole subdivision</h2>
	</li>
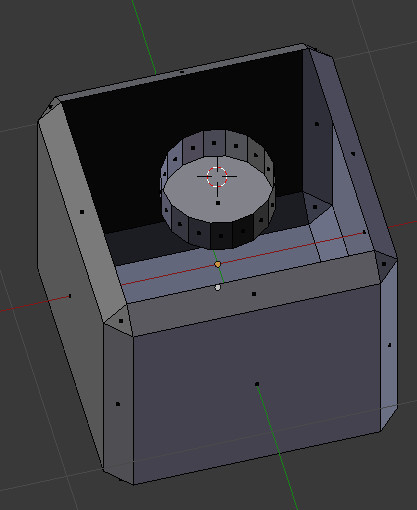
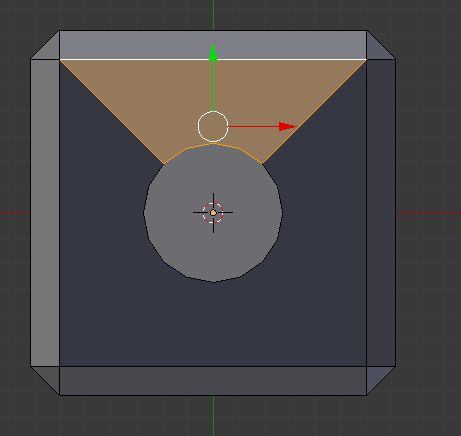
</ol><p>This will be work when you cut surface using 'project knife'.</p>

<p><img alt="3-1.jpg" src="http://vuodatus.net/media/cache/normal/blog_content_image/normal/58037786b596dcb33b8b4573/3-1.jpg" /></p>

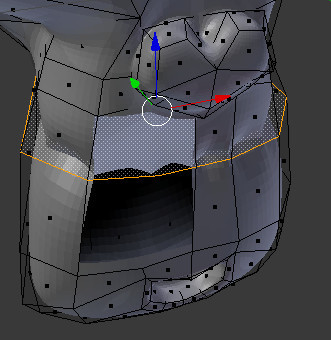
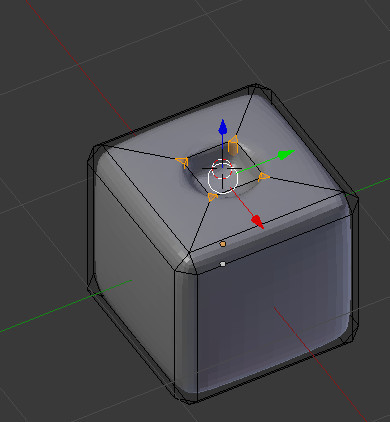
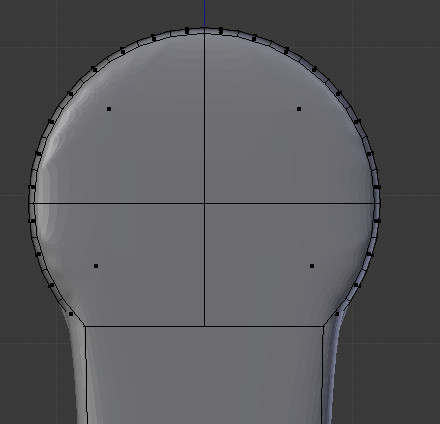
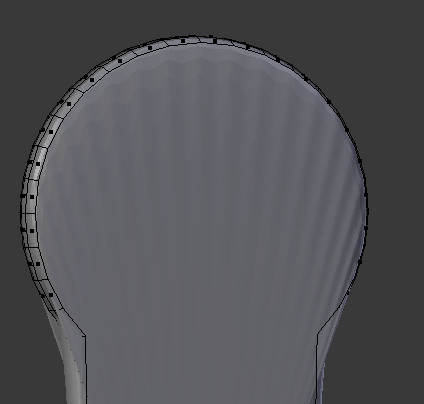
<p>The best resolve is removing faces and rejoin them. Because of this it is recommended to use simple mesh and use subsurface. It will be useful to correct when you meet with other problems.</p>

<p><img alt="3-2.jpg" src="http://vuodatus.net/media/cache/normal/blog_content_image/normal/5803778eb596dcbb3b8b4574/3-2.jpg" /></p>

<p><img alt="3-3.jpg" src="http://vuodatus.net/media/cache/normal/blog_content_image/normal/5803778db596dcbb3b8b4568/3-3.jpg" /></p>

<p><img alt="3-4.jpg" src="http://vuodatus.net/media/cache/normal/blog_content_image/normal/5803778db596dcb93b8b4569/3-4.jpg" /></p>

<p><img alt="3-5.jpg" src="http://vuodatus.net/media/cache/normal/blog_content_image/normal/58037790b596dc0f3c8b4567/3-5.jpg" /></p>

<p>Even if it is not perfect, still looks quite better.</p>

<p><img alt="3-6.jpg" src="http://vuodatus.net/media/cache/normal/blog_content_image/normal/58037794b596dcbb3b8b4581/3-6.jpg" /></p>

<p>And you’ll get better result with bevels to circles (1).</p>

<ol style="list-style-type:lower-alpha;"><li>
	<h3>When 1(bevel) not work</h3>
	</li>
</ol><p><span style="line-height:20.8px;">You need to bevel with edges on the faces, which is connected to the hole.</span></p>

<p><img alt="3-7.jpg" src="http://vuodatus.net/media/cache/normal/blog_content_image/normal/58037795b596dc1f3c8b4569/3-7.jpg" /></p>

<p><img alt="3-8.jpg" src="http://vuodatus.net/media/cache/normal/blog_content_image/normal/58037797b596dc523c8b4567/3-8.jpg" /></p>

<ol><li value="5">
	<h2>Just cut your cake</h2>
	</li>
</ol><p>Yes, knife tool(k) sometimes makes magic.</p>

<p><img alt="4-2.jpg" src="http://vuodatus.net/media/cache/normal/blog_content_image/normal/5805fc01b596dceb798b4569/4-2.jpg" /><img alt="4-1.jpg" src="http://vuodatus.net/media/cache/normal/blog_content_image/normal/5805fc01b596dc127a8b4568/4-1.jpg" /></p>

<ol><li value="6">
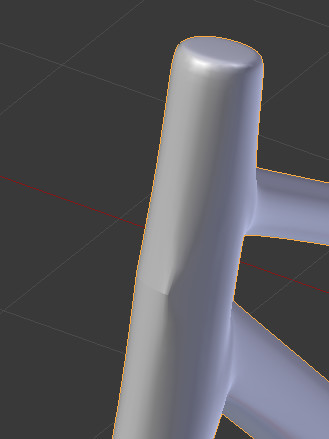
	<h2>Has it unmerged point?</h2>
	</li>
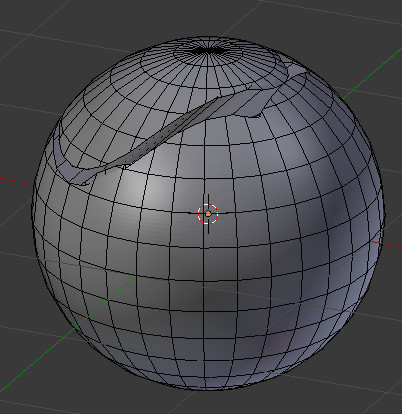
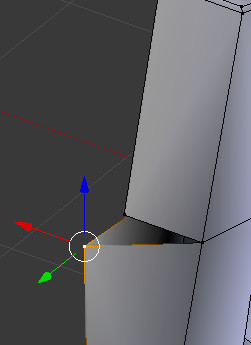
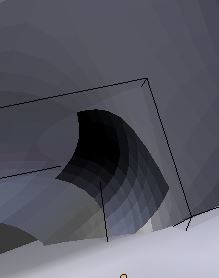
</ol><p>If it looks like this, it would be.</p>

<p><img alt="5.jpg" src="http://vuodatus.net/media/cache/normal/blog_content_image/normal/5808e9f2b596dce7218b456b/5.jpg" /></p>

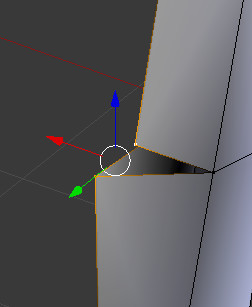
<p>Just try moving corresponding(or its neighbor point) point in edit mode and check it!</p>

<p><img alt="5-1.jpg" src="http://vuodatus.net/media/cache/normal/blog_content_image/normal/5808e9f3b596dc0e228b4568/5-1.jpg" /></p>

<p>If it moves like this or you found that it hasn't been merged, select other unmoved point which was in same place...</p>

<p><img alt="5-2.jpg" src="http://vuodatus.net/media/cache/normal/blog_content_image/normal/5808e9f4b596dc05228b456a/5-2.jpg" /></p>

<p>and <strong>ALT+M</strong> and select <strong>AT LAST POINT</strong></p>

<p><img alt="5-3.jpg" src="http://vuodatus.net/media/cache/normal/blog_content_image/normal/5808e9f5b596dc5a228b4567/5-3.jpg" style="line-height:1.6em;" /></p>

<ol><li value="7">
	<h2>extrude and close</h2>
	</li>
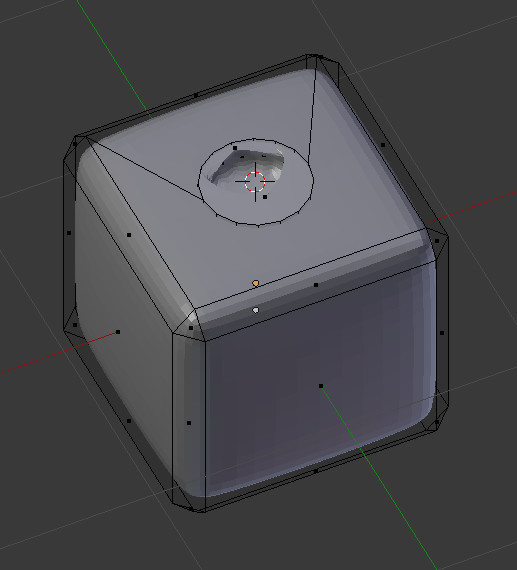
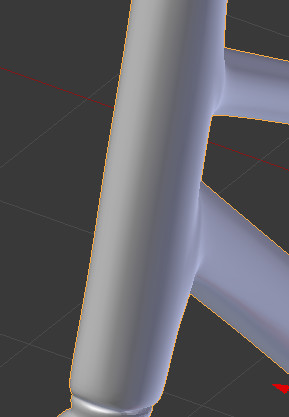
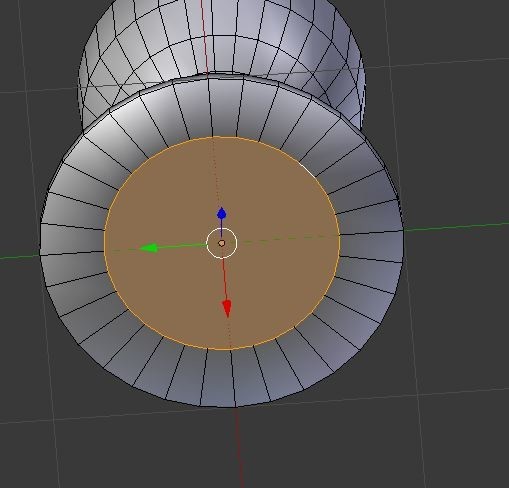
</ol><p>this works good with cylinder objects.</p>

<p>alt+s select &gt; press e (extrude) &gt; press s (change size) &gt; fill (f) &gt; lift up a little bit (g key and z key)</p>

<p><img alt="7_.jpg" src="http://vuodatus.net/media/cache/normal/blog_content_image/normal/580a16e4b596dcba138b4568/7_.jpg" /></p>

<p><img alt="7-before.jpg" src="http://vuodatus.net/media/cache/normal/blog_content_image/normal/580a16e6b596dcc5138b4568/7-before.jpg" /></p>

<p>Works same like 1.</p>

<ol><li value="8">
	<h2>Surface is reversed</h2>
	</li>
</ol><p><img src="http://vuodatus.net/media/cache/normal/blog_content_image/normal/580b2e28b596dca7728b4568/8_.jpg" alt="8_.jpg" /></p>

<p>If it looks like this, in edit mode, select surface &gt; Ctrl+N.</p>

<p><img src="http://vuodatus.net/media/cache/normal/blog_content_image/normal/580b2e32b596dc24738b4569/8_1.jpg" alt="8_1.jpg" /></p>

<p> </p>

<p> </p>

<p> </p>

<p>Remember that surfaces must be organized!</p>]]></summary>
    <published>2016-10-16T15:47:00+03:00</published>
    <updated>2019-08-10T18:57:34+03:00</updated>
    <link rel="alternate" type="text/html" href="https://blenderuser.vuodatus.net/lue/2016/10/how-to-resolve-subsurface-division-problem"/>
    <id>https://blenderuser.vuodatus.net/lue/2016/10/how-to-resolve-subsurface-division-problem</id>
    <author>
      <name>Mielikki</name>
      <uri>https://blenderuser.vuodatus.net/</uri>
    </author>
  </entry>
</feed>