-
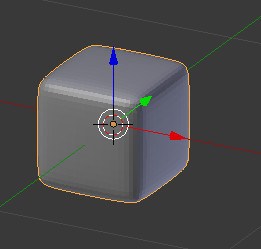
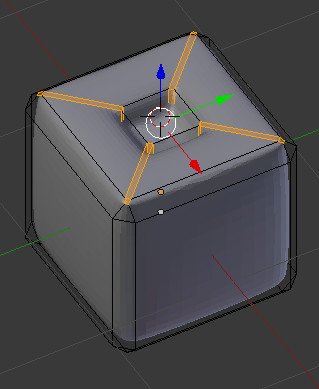
Simple, you just need bevels, huh?
I believe that it will be useful for newbies. Don't forget it.
-
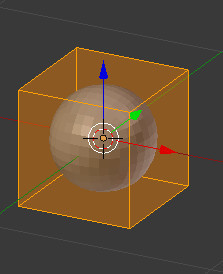
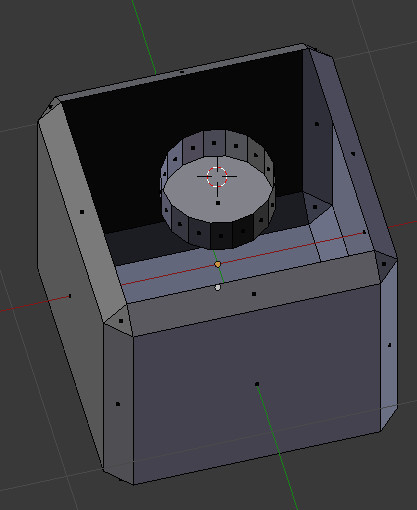
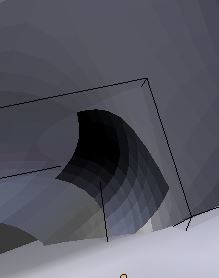
Check if it has extra surface
If it has extra surface, you need to remove it.
You can check by using ‘h’(hide) and ‘alt + h’ (stop hiding) in edit mode.
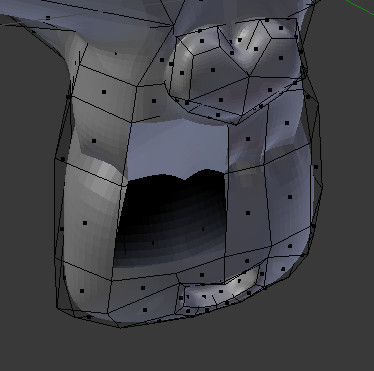
(faces + h key)
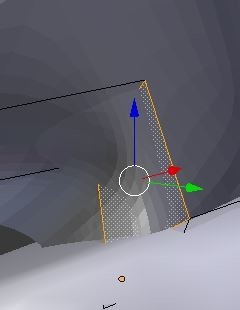
(select and remove face)
(ctrl + h to close, it, I forget to take picture after remove)
-
Use ‘edge split’ modifier
It will be work when it has simple surfaces. If it is complicated mesh, you need to try another one.

-
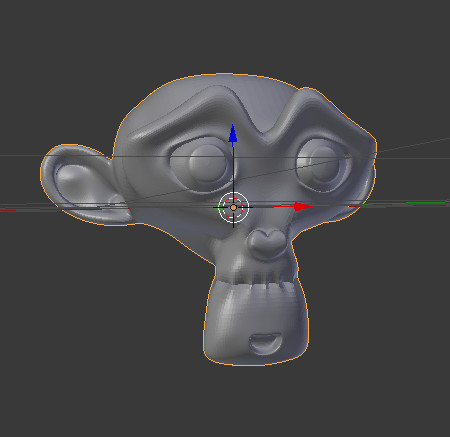
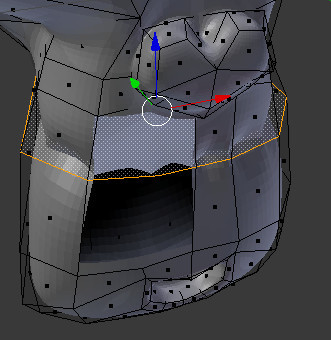
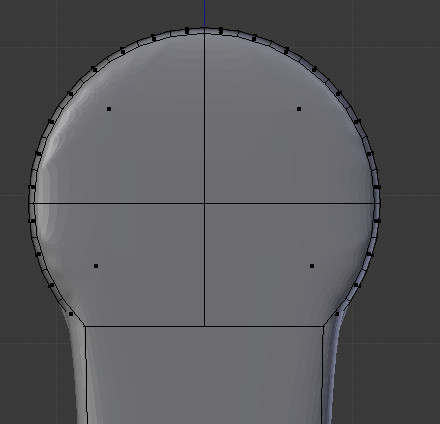
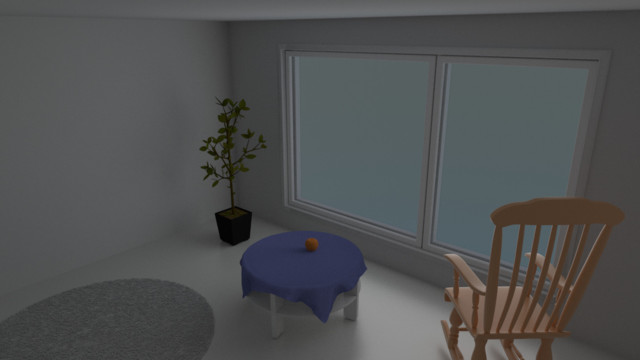
If you have problem with hole subdivision
This will be work when you cut surface using 'project knife'.
The best resolve is removing faces and rejoin them. Because of this it is recommended to use simple mesh and use subsurface. It will be useful to correct when you meet with other problems.
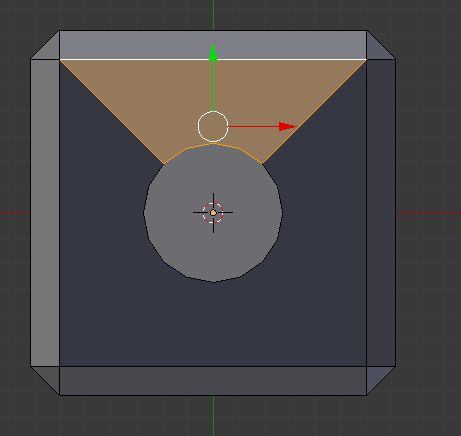


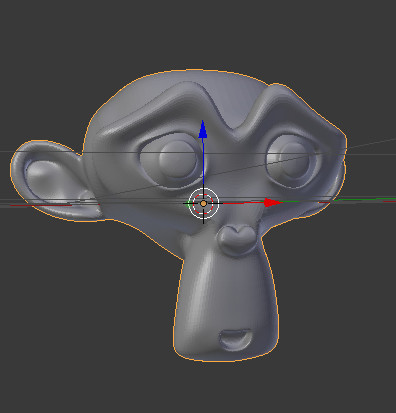
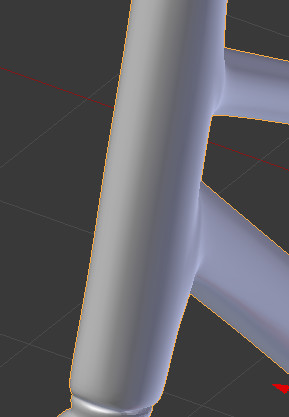
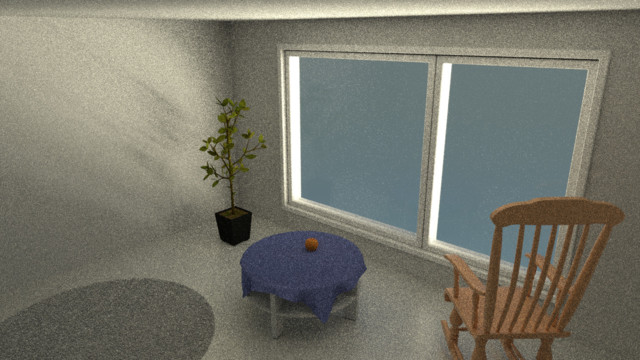
Even if it is not perfect, still looks quite better.
And you’ll get better result with bevels to circles (1).
-
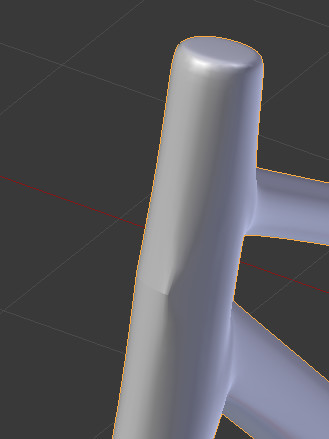
When 1(bevel) not work
You need to bevel with edges on the faces, which is connected to the hole.
-
Just cut your cake
Yes, knife tool(k) sometimes makes magic.

-
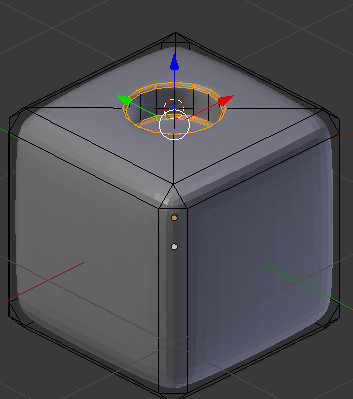
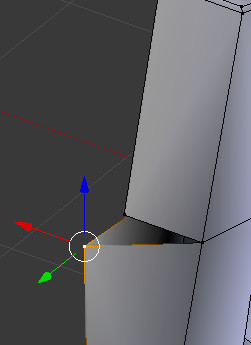
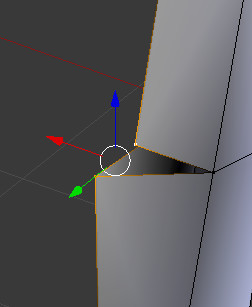
Has it unmerged point?
If it looks like this, it would be.
Just try moving corresponding(or its neighbor point) point in edit mode and check it!
If it moves like this or you found that it hasn't been merged, select other unmoved point which was in same place...
and ALT+M and select AT LAST POINT
-
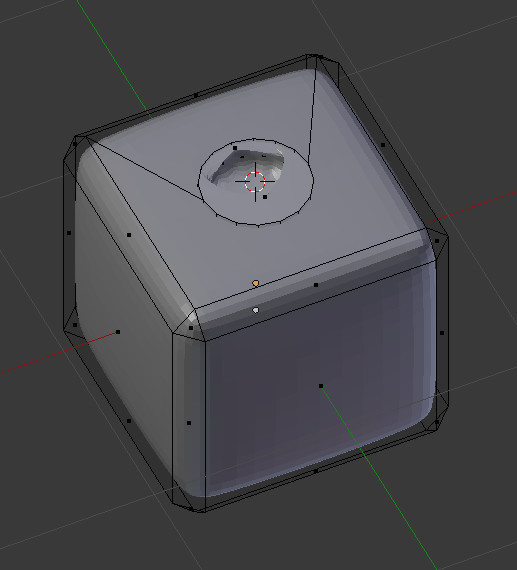
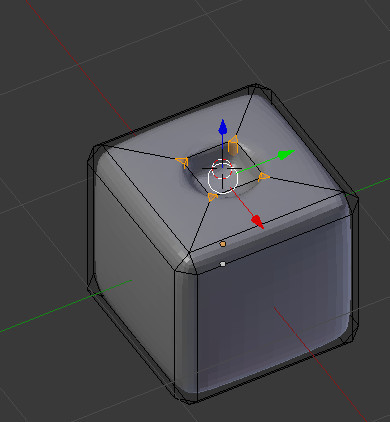
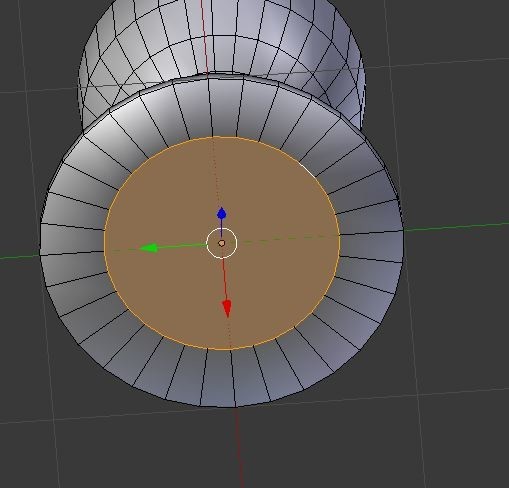
extrude and close
this works good with cylinder objects.
alt+s select > press e (extrude) > press s (change size) > fill (f) > lift up a little bit (g key and z key)
Works same like 1.
-
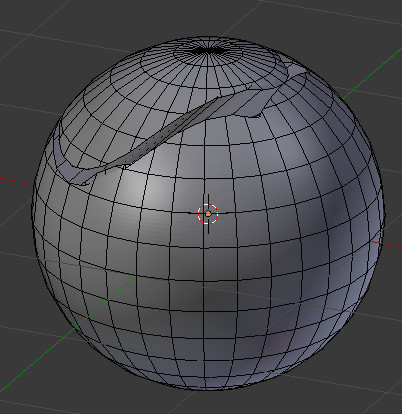
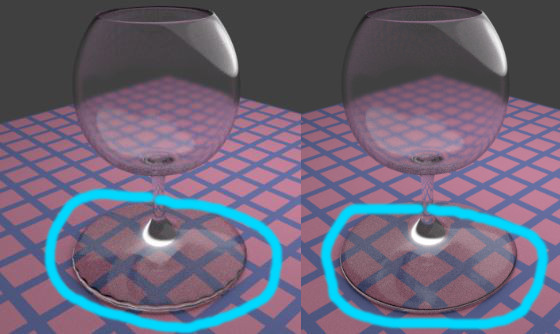
Surface is reversed
If it looks like this, in edit mode, select surface > Ctrl+N.
Remember that surfaces must be organized!

